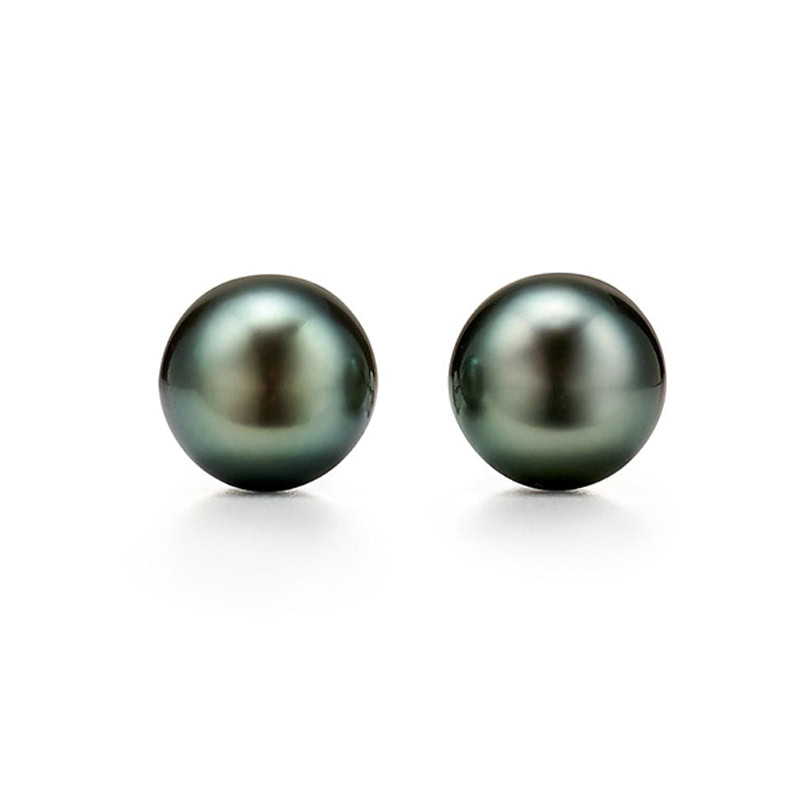
How to Make a Beaded Necklace with a Clasp: A Complete Guide
Creating your own beaded necklace is a rewarding craft that allows for personal expression while producing a wearable piece of art. Whether you’re a beginner looking to start your jewelry-making journey or an experienced crafter seeking to refine your technique, this comprehensive guide will walk you through the process of making a beautiful beaded necklace complete with a professional-looking clasp.
Materials You’ll Need to Make a Beaded Necklace with a Clasp
Before beginning your project, gather these essential supplies:
Basic Materials
- Beads of your choice (glass, crystal, gemstone, wood, plastic, etc.)
- Beading wire or thread (appropriate for your bead type)
- Clasp (lobster claw, toggle, magnetic, etc.)
- 2 crimp beads
- 2 jump rings (if needed for your clasp type)
- Wire cutters
- Flat-nose pliers
- Chain-nose pliers or crimping pliers
- Measuring tape or ruler
- Bead mat or towel (to prevent beads from rolling away)
- Bead stopper (optional but helpful)
- Design board (optional)
Optional Materials
- Bead spacers
- Accent beads
- Charms or pendants
- Bead tips (for thread-based necklaces)
- Cones (for finishing multi-strand designs)
- Beeswax (for strengthening thread)

Choosing Your Materials
Selecting Beads
The beads you choose will define the character of your necklace. Consider these factors:
- Size: Larger beads create bold statements, while smaller beads offer delicacy and detail.
- Material: Glass beads are versatile and affordable; gemstones add natural beauty and value; wooden beads create an organic look; plastic beads are lightweight and come in countless colors.
- Hole size: Ensure your beads’ holes accommodate your chosen stringing material.
- Weight: Heavier beads require stronger stringing materials and clasps.
- Color scheme: Consider complementary or contrasting colors, or a gradient effect.
Choosing Stringing Material
Your choice of stringing material affects both the appearance and durability of your necklace:
- Beading wire: Flexible, nylon-coated stainless steel that’s strong and versatile. Available in different thicknesses (measured in mm). Thicker wires (0.018-0.024 inch) are appropriate for heavier beads.
- Silk or nylon thread: Best for pearls and lightweight beads. Creates a softer drape.
- Elastic cord: Creates stretch bracelets; not recommended for necklaces that will bear weight.
- Memory wire: Holds its circular shape; good for chokers and wrap bracelets.
- Leather or cotton cord: Creates a casual, bohemian look.
Selecting a Clasp
The clasp is both functional and decorative:
- Lobster claw: Secure and easy to use; good for most necklace types.
- Toggle clasp: Decorative and easy to fasten, but can come undone if the necklace is very heavy.
- Magnetic clasp: Simple to use, especially for people with dexterity issues, but may not be secure enough for heavy necklaces.
- Hook and eye: Simple and discreet.
- Box clasp: Secure and often used for more formal jewelry.
- Barrel clasp: Screws together; secure but can be difficult to manipulate.

Designing Your Necklace
Before stringing your first bead, plan your design:
Determining Length
Standard necklace lengths include:
- Choker: 14-16 inches
- Princess: 17-19 inches
- Matinee: 20-24 inches
- Opera: 28-36 inches
- Rope/Lariat: 37+ inches
Measure your neck and add the desired drop length to determine your ideal necklace length.
Creating a Pattern
Consider these design approaches:
- Symmetrical: Mirror-image design from center to ends
- Asymmetrical: Intentionally unbalanced for artistic effect
- Graduated: Larger beads in center, becoming smaller toward the ends
- Random: Mixed beads for a casual, eclectic look
- Repeating pattern: Creates rhythm and predictability
If you’re new to beading, laying out your design on a bead board or towel before stringing can help you visualize the final product.
Step-by-Step Instructions
Preparation
- Measure and cut your wire: Cut your beading wire approximately 4 inches longer than your desired finished necklace length. This extra length provides room for attaching the clasp.
- Secure one end: If using a bead stopper, attach it to one end of your wire to prevent beads from sliding off as you work. Alternatively, you can tape the end to your work surface.
Attaching the First Side of the Clasp
- String a crimp bead: Slide one crimp bead onto your wire.
- Add a jump ring (if needed): If your clasp doesn’t have an integrated loop, slide a jump ring onto the wire.
- Thread the wire back through the crimp bead: Create a small loop by passing the wire back through the crimp bead. The clasp or jump ring should be captured in this loop.
- Position the loop: Adjust the size of the loop so it’s just large enough to allow the clasp or jump ring to move freely.
- Flatten the crimp bead: Using flat-nose pliers, squeeze the crimp bead firmly to secure it. If you have crimping pliers, use them to create a more professional finish by first squeezing the bead into a U-shape, then folding it over on itself.
- Trim excess wire (optional): If there’s a tail of wire extending beyond the crimp bead, you can trim it with wire cutters, being careful not to cut too close to the crimp.
Stringing Your Beads
- Begin with your pattern: Start adding beads according to your design plan. If you’re creating a symmetrical design, you may want to string from the center outward.
- Check length periodically: As you approach your desired length, place the beaded section around your neck (or a similarly-sized object) to check the fit.
- Leave space for the second clasp attachment: Remember that attaching the second side of the clasp will take up some length.
Finishing Your Necklace
- String the second crimp bead: When you’ve reached your desired bead length, add another crimp bead to the wire.
- Add the second clasp component: Thread on a jump ring (if needed) and the second part of your clasp.
- Loop back through the crimp bead: Pass the wire back through the crimp bead, creating a loop similar to the one you made at the beginning.
- Adjust tension: Before securing the crimp bead, ensure the necklace has proper tension—not so tight that it doesn’t drape naturally, but not so loose that gaps show between beads.
- Secure the crimp bead: Flatten the crimp bead with your pliers as you did for the first one.
- Trim excess wire: Cut off any remaining wire, leaving a small tail (about 1/8 inch) beyond the crimp bead.
Special Techniques and Tips
Using Crimp Covers
For a more polished look, you can hide crimp beads with decorative crimp covers:
- After flattening your crimp bead, place a crimp cover over it.
- Using round-nose pliers, gently close the crimp cover around the flattened crimp bead.
- This creates the appearance of a decorative metal bead rather than a functional component.
Adding a Pendant
To incorporate a pendant into your design:
- String beads to the center point of your necklace.
- Add a jump ring to your pendant and slide it onto the wire.
- Continue stringing beads on the other side.
- Alternatively, create a complete necklace and add the pendant to the center using a jump ring after completion.
Creating Multi-Strand Designs
For more complex, multi-strand necklaces:
- Use multi-strand clasps or connector bars at each end.
- Cut separate lengths of wire for each strand.
- Complete each strand individually, connecting them to the multi-strand components.
- Vary strand lengths slightly for a layered effect.
Troubleshooting Common Issues
Problem: Crimp Beads Slipping
Solution: Make sure you’re using the correct size crimp beads for your wire. If they’re too large, they won’t secure properly. Additionally, ensure you’re flattening them completely.
Problem: Necklace Breaking at Crimp Bead
Solution: Leave a longer wire tail after the crimp bead (approximately 1/8 inch). Also, avoid making sharp bends in the wire near the crimp, as this creates weak points.
Problem: Uneven Bead Spacing
Solution: If beads tend to bunch up on your wire, try using a slightly thicker wire or adding small spacer beads between your main beads.
Problem: Clasp Difficult to Use
Solution: Consider switching to a larger or different style of clasp. Magnetic clasps are easiest to use, while barrel clasps can be challenging for those with dexterity issues.
Care and Maintenance of Your Beaded Necklace
To ensure your handmade creation lasts for years:
- Store flat or hanging to prevent tangling
- Keep away from water, especially if using thread or certain types of beads
- Apply perfume, hairspray, and other cosmetics before putting on your necklace
- Clean gently with a soft cloth
- Inspect periodically for wear at the crimp beads or clasp
Variations and Advanced Techniques
Once you’ve mastered basic beaded necklaces, you might want to explore:
Knotting Techniques
Placing knots between beads (especially pearls) prevents them from rubbing against each other and provides security if the string breaks.
Wire-Wrapping
Create decorative loops and connections using wire-wrapping techniques instead of or in addition to crimp beads.
Mixed Media
Combine beads with fabric, ribbon, or chain for textural interest.
Bead Weaving
Learn techniques like brick stitch or peyote stitch to create more intricate beaded components.
Conclusion
Creating your own beaded necklace with a clasp is a satisfying blend of technical skill and artistic expression. With practice, you’ll develop your own style and techniques, building a collection of unique pieces that reflect your personal taste.
The beauty of beadwork lies not only in the finished product but in the meditative process of selecting and stringing each bead. As you grow more comfortable with the basics outlined in this guide, you’ll find yourself naturally experimenting with more complex designs and techniques.
Remember that even expert beaders began with simple projects. Each necklace you create will build your confidence and skill, leading to increasingly sophisticated and beautiful jewelry. Enjoy the journey of creating wearable art that you can proudly display or give as meaningful, handcrafted gifts.
Share This Article

Written by : Scarlett Chen
Follow Us
Latest Articles
July 27, 2026
July 27, 2026